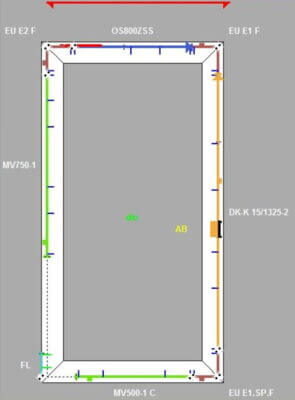
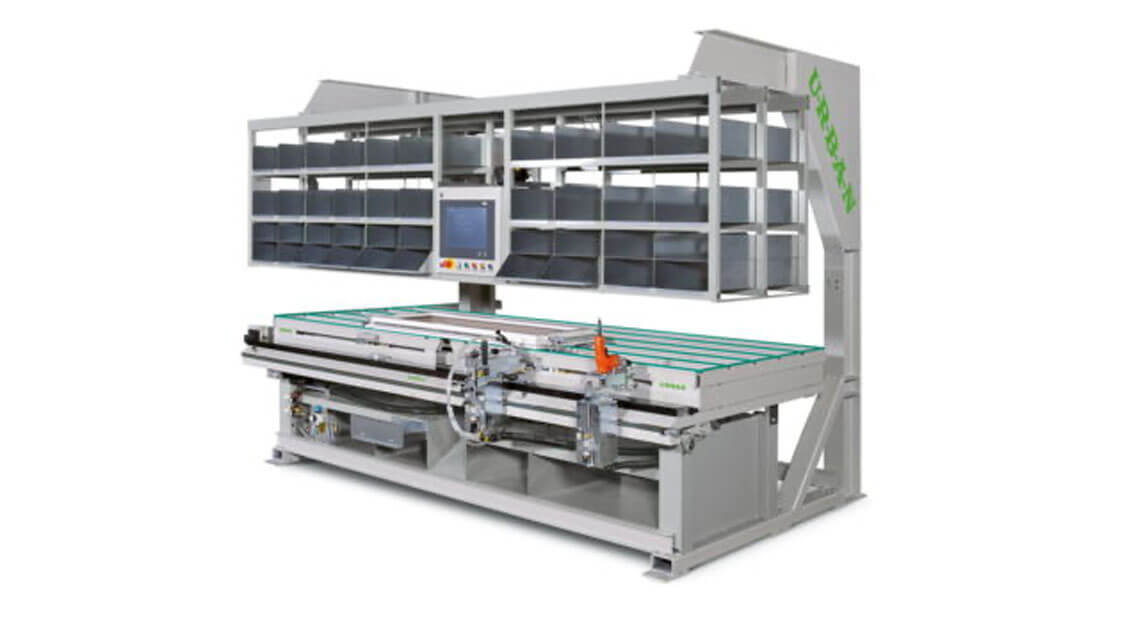
A complete overview of sash hardware installation! Now all hardware components are displayed at the manual sash assembly station, allowing for more efficient processing.
“Today I had to explain how to install the hardware to our employee again.” Does that sound familiar?
The same questions keep coming up.
- What specific parts need to be installed?
- What steps do I need to follow?
- Which size needs to be punched?
- Where are the hardware components located?
There are certain situations in a window manufacturing company’s production process that happen over and over again!
That’s what happened to one of our customers.
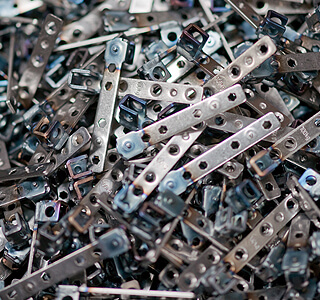
Due to the constant turnover of production staff—caused by high absenteeism rates or a shortage of skilled workers – our client had to rotate a wide variety of employees through the workstations. This was also the case at the wing stop station.
As a result, the employee faces the challenge of constantly having to adapt to the new workstation. This always leads to the following mistakes…
- The wrong parts are being installed
- Parts are being installed incorrectly
- Further information is needed due to missing details
- Parts / hardware not found
- Die-cutting not at the correct size
That’s the end of it!
This no longer happens with our new Sash assembly station FAS 320 – FBA wing stop station. A system has been developed here that provides the operator with all
Important Information – Profiles – Hardware Components
displays in detail.
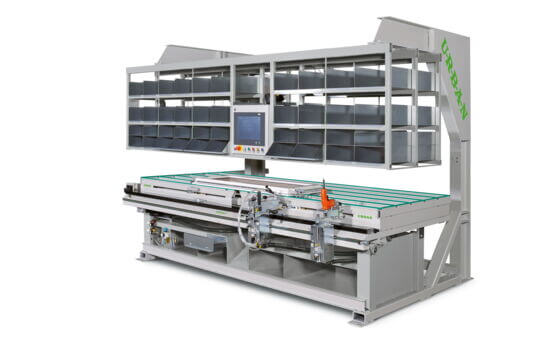
The operator is shown where each hardware component or accessory is located in the appropriate compartment and in the correct position on the window sash, ensuring that the process can always be carried out in the correct order. The display is shown on a touchscreen, allowing the operator to quickly switch to larger views at any time.
In addition, the exact position of the parts to be punched is always aligned using a servo axis, and punching can be initiated simply by pressing a button. The process here is the same as with our FBA 2500-2 and -4 automatic window hardware machines, except that our new stop station features a direct screw-fastening unit.
No time is wasted searching for fasteners or punching holes, and the operator also enjoys working at the station because the table can be swiveled into an ergonomic position.
Until now, the rule was…:
We always had to search the shelves for hardware; of course, if you worked at that station for a while, you’d develop your own system. But that system fell apart when you started doing other tasks again…
Things are a little different now
Even minimally trained employees can operate the FAS 320 – FBA wing stop station. Thanks to the precise display, installing the hardware is a breeze! This also allows for employee rotation across various stations, as operators can rely completely on the display.
The data is sent over the network to the sash alignment station via the window manufacturing software. The sash alignment station’s PC reads this data, and it is displayed to the operator as a graphical representation after the barcode on the sash element is scanned.
Once all the parts have been clipped into place and punched, the screw-fastening unit is put to use. A laser unit helps with positioning here…
This means: Position the screwdriver bit over the hole in the hardware to be fastened …
– Start the screwing process by pressing the button on the handle – All done!
Customers who are already using the sash assembly station FAS 320 – FBA wing mounting station can confirm this….
And if the capacity of the screw unit eventually becomes insufficient because your entire window manufacturing operation expands.
– no problem –
The FAS 320 – FBA wing clamping station can be added to our FBA 2500-2 and FBA 2500-4 automatic screwdriving machines.