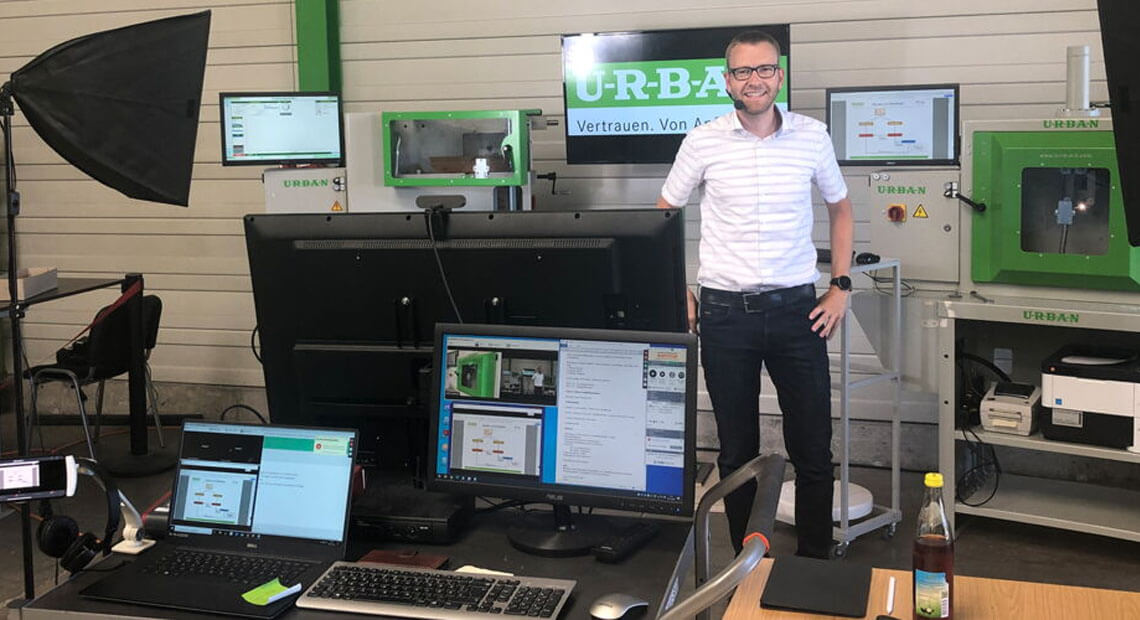
The time had finally come—after a period of preparation, we held our first live product demonstration. And we did it in English, too, but we managed that as well. As many of you know, we’ve been exploring the topic of “live demonstrations” for quite some time and have been testing various concepts internally. Even before you have any idea of what the concept will be, the first step is determining which software is best suited for live demonstrations—one that offers some key tools for both the customer and the “presenter,” without overwhelming them with technical requirements that might cause participants to drop out immediately. However, after extensive research, we finally found what we were looking for and ultimately decided on a flexible software solution that still gives us plenty of room for future possibilities.
Once this step was complete, we knew we had established a solid foundation on the software side. At the same time, however, we realized that we now had to address the hardware-related issues. This is where we were confronted with questions regarding audio and video. We were immediately certain that these live demonstrations would “stand or fall” on the quality of the audio and video.
For these reasons, we’ve chosen microphone and camera hardware that ensures you can always hear and see us clearly (provided, of course, that you have a good internet connection).
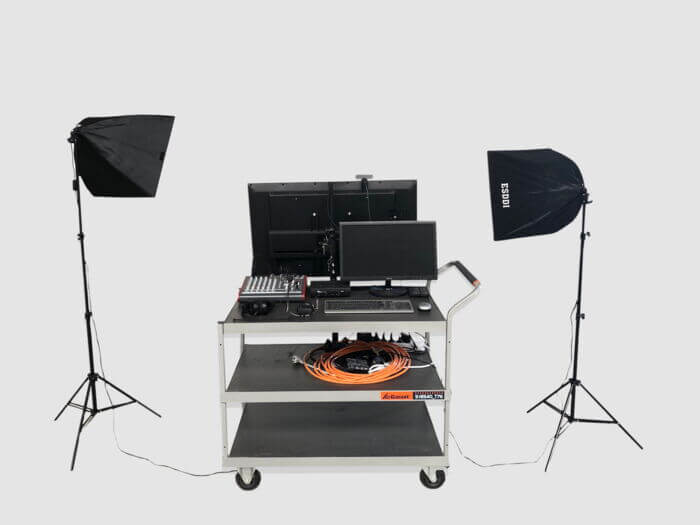
As we went through the preparations, we realized that a checklist was the only way to go:
- Software for live demonstrations
- Microphone (+ mixing console)
- Camera (Complete Overview)
- Tablet with a camera for close-up views
- PC for the control room
- Appropriate lighting
- Large monitor for the presenter
- … more points followed
The result was a mobile webinar cart that allows us to host live presentations throughout the entire company. It should be noted that, from a professional standpoint, we always conduct these presentations in pairs. There is always an active presenter who is responsible for the topic, and another colleague who manages the presentation from behind the scenes and passes any questions that arise to the presenter at the end of the session.
So, back to the first presentation—after introducing the topic and making sure all participants were present (video and audio—OK), we dove right into the process of “manufacturing wood-look plastic windows.” We started by briefly explaining the general process and the machinery required. We then involved the participants in the process and demonstrated and explained, step by step, how a wood-look plastic window is manufactured. In doing so, we discussed the various milling processes and the subsequent welding process.
Last but not least, we answered all the questions our participants had asked us.